PHP Queue Sample
The php_queue example is a fully working example CloudPRNT server based on the PHP language hosted by the Apache phpX.X(X is numeric) module. This demonstration implements a very simple queue management system, in which customers can press a button (displayed with web browser, for example on an Android or iOS tablet) to print a ticket with a queue number and optionally additional text and image data. This demonstration is intentionally basic, with no consideration for security, calling customers and other considerations that would be necessary for a real life deployment. For printing, all print jobs are created using the Star Document Markup language and converted to the correct printer supported format using the cputil utility. This allows full support of all CloudPRNT compatible printers, regardless of command emulation or print width.
On the server side, a simple sqlite database is used to maintain a table of connected printers, and queues.
This example is built around the Apache web server using its php module. Initial development and testing has with the Apache HTTP Server version 2.4.18, running on an Ubuntu 16.04 LTS x64 based Server. It has also been tested on Ubuntu 18.04.2 LTS x64, with Apache 2.4.29. Although based on the PHP environment, the CloudPRNT specific code elements are generic and should be suitable as a starting point for any PHP 7.0 or later compatible server side scripting solution.
Installation
Installation requires that the Apache 2 PHP module is installed and enabled, the correct method to do this will vary between different operating systems/distributions, and will depend on how Apache has been configured locally.
On Windows 10(x86)
On a fresh Windows 10 server system, the sample server can be set-up as follows:
First cputil in such a way that it can be invoked by any user as 'cputil' directly.
The easiest way to do this is to extract it to a global location and then create a symbolic link. In this description, the server sample location is directly underC:\Apache\Apache24\htdocs\php_queue. It has created a folderC:\Apache\Apache24\htdocs\php_queue\cputiland copied the contents of cputil-win-x86.Install Apache HTTP server
Download from Apache.Extract downloaded package. In this description, copy
Apache24directory toC:\Apache.Register the path(
C:\Apache\Apache24\bin) of "Apache24/bin" in the variable name (PATH) of the Environment variable .Start up command prompt and
perform httpd -vcommand.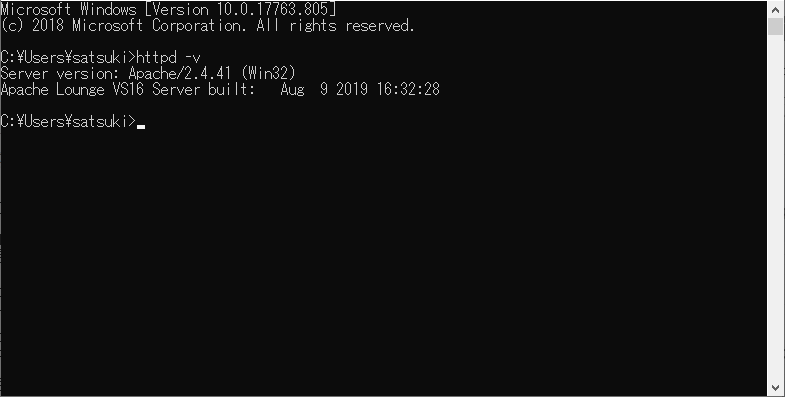
Open
C:\Apache\Apache24\conf\httpd.conffile by text editor.Modify
Define SRVROOT "c:/Apache24"to fit the own pc environment.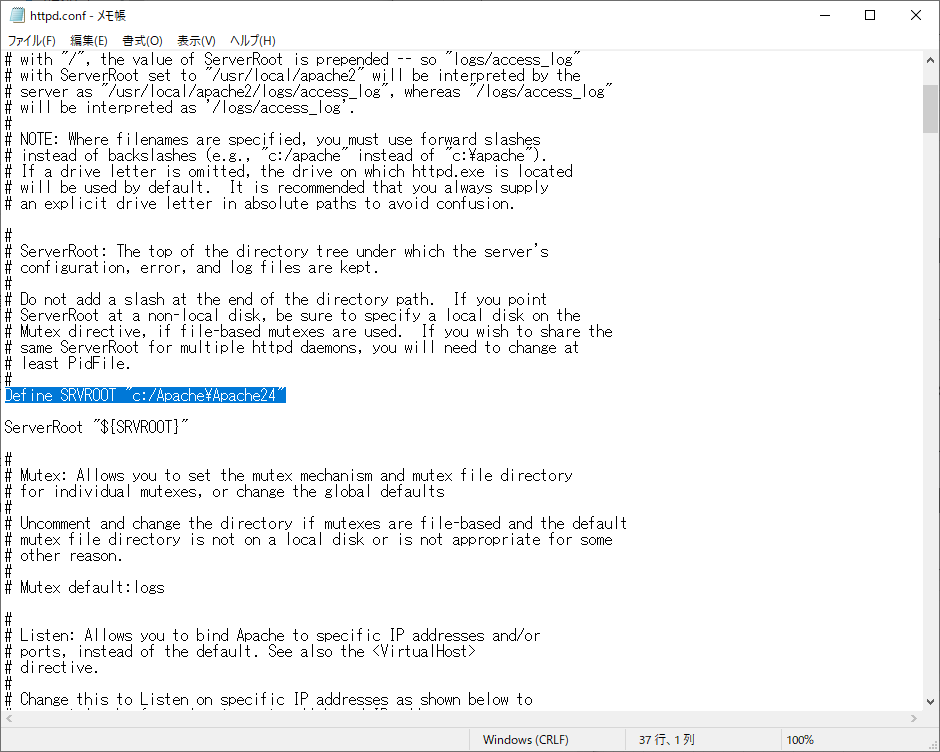
Change
#ServerName www.example.com:80toServerName localhost:80and save file.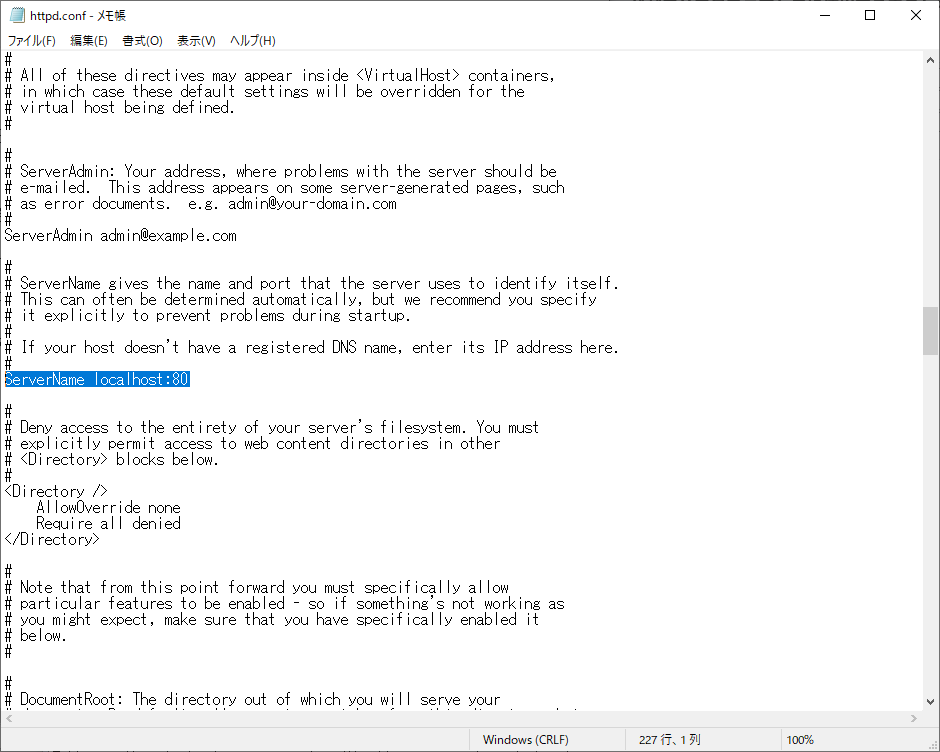
Start up command prompt with administrator and peforms
httpd -k installcommand.
Enter "localhost" in the URL field of a web browser, and when "It works" appears, the setting is successful.
Download the zip of Thread Safe version for windows from PHP.
Extract the zip and rename "php", copy the contents to
C:\directory.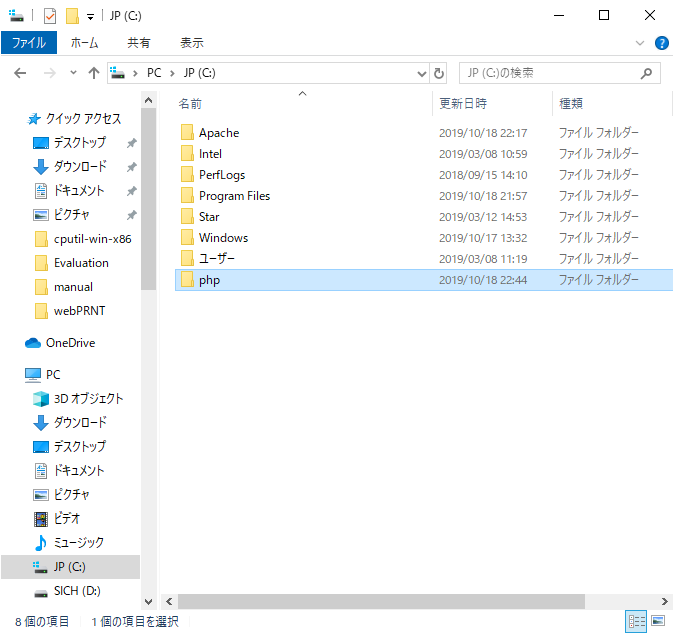
Open
C:\Apache\Apache24\conf\httpd.conffile by text editor.
Also add the below description at the bottom of file and save file.
# Secure (SSL/TLS) connections
#Include conf/extra/httpd-ssl.conf
#
# Note: The following must must be present to support
#       starting without SSL on platforms with no /dev/random equivalent
#       but a statically compiled-in mod_ssl.
#
<IfModule ssl_module>
SSLRandomSeed startup builtin
SSLRandomSeed connect builtin
</IfModule>

LoadModule php7_module "c:/php/php7apache2_4.dll"
AddHandler application/x-httpd-php .php

# configure the path to php.ini
PHPIniDir "C:/php"
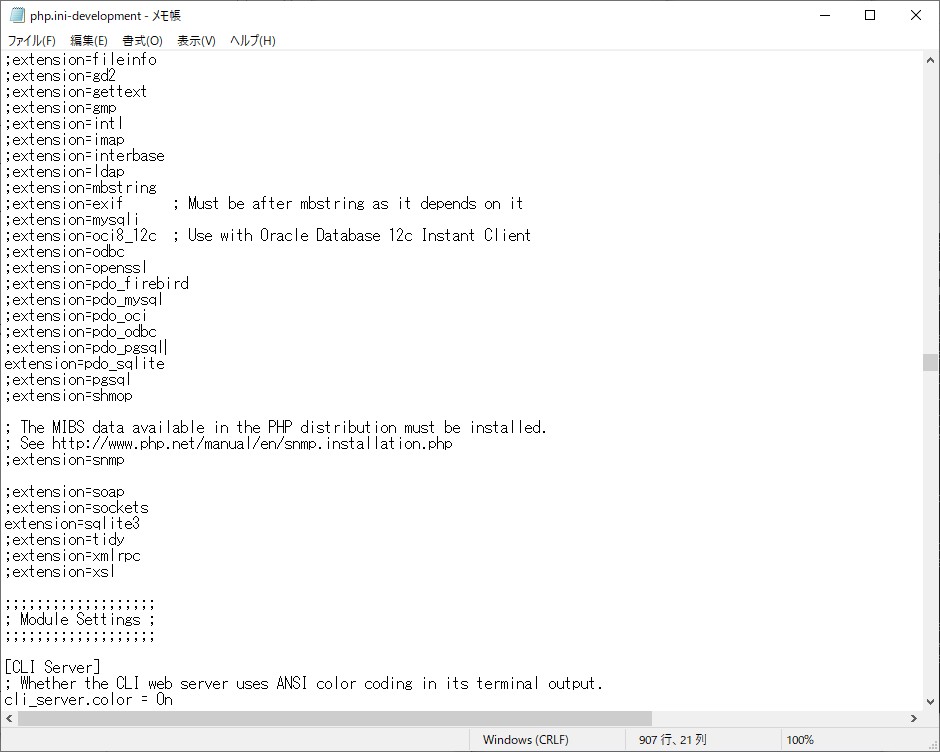
- Modify php.ini. Delete comment out of
;from below option values.
(In this case, php.ini copy from php.ini-development)
extension=pdo_sqlite

extension=sqlite3
- Extract PHP sample serverphp_queue.tar.gz and copy the php_queue directory to
C:\Apache\Apache24\htdocs\.
Test the install by using a web browser to open http://<serverIP>/php_queue/management.html
Note that, for source code simplicity, some paths are hard-coded. for example the if the database is not located in <document_root>\cputil\simplequeue.sqlite the please modify the getDB() functions in cloudprnt.php, devices.php, print.php and queues.php.
In case of issues, please monitor /var/log/apache2/error.log (may vary, depending on Apache configuration options).
Usage
To use this demo, please first log in to the management page at http://<serverIP>/php_queue/management.html. This server manages a list of customer queues inside an Sqlite3 database, some example queues are defined in the default database.
A list of registered printers is also stored in the database, each printer is assigned to a specific queue. Any cloudPRNT printer that attempts to connect to the server but is not registered will be ignored by the server.
Register a printer
At the bottom of the management.html page, is the necessary information to register a new printer, most importantly the url that implements the CloudPRNT API for this server (note that the URL might vary depending on how the server has been set-up).
- First configure your CloudPRNT client to ensure that CloudPRNT is enabled and communicating with the correct server URL. Instructions for this will vary between devices but usually involve logging in to its web-based user interface. Your device can be an mC-Print2, mC-Print3, or any compatible Star Thermal printer with HI0x interface fitted. It is recommended to configure the polling interval for 1s, as a user facing solution such as queue ticket printing should be responsive.
- On the management.html page, click the "Register A New Device" link and when prompted enter the Mac address of the device to be registered.
- Next you will be prompted to enter the ID of the queue that this new printer should be linked to. It is safe for multiple printers to be linked to a single queue.
The printer will now be registered, initially the server will obtain some details from the printer such as the device type and print/paper dimensions.
Displaying the end-customer user interface
Your newly registered printer will be displayed on the management.html page, on a new row in the printers list. On the right most column are the options "Show" and "Delete". Click on "Show" to display the user page for this printer, this is the page that may be shown on a tablet, to allow end-customers to print tickets. Click on the large "Print" button to print a new queue ticket.
Removing a Printer
Remove a printer by clicking its associated "Delete" button in the right most column of the "Registered CloudPRNT Devices" table on the management.html page.
Since this is an example demo server, the only way to change the queue that is associated with a printer is to delete and then re-register it (or modify the sqlite database directly).
Adding a Queue
To add a new Queue, visit the management.html page, and click the "Add A New Queue" link. You will be prompted to enter a new name for the Queue.
Deleting a Queue
Queues can be removed on the management.html page, by clicking on their associated "Delete" link.
Configuring a Queue
On the management.html page, a Queue can be reset back to position '1' by clicking it's associated "Reset" link.
Additional configuration of each queue is possible, such as changing the top/bottom logo images and defining the markup used to generate the ticket. To avoid adding complexity to the example, this is only possible by modifying the sqlite database directly.